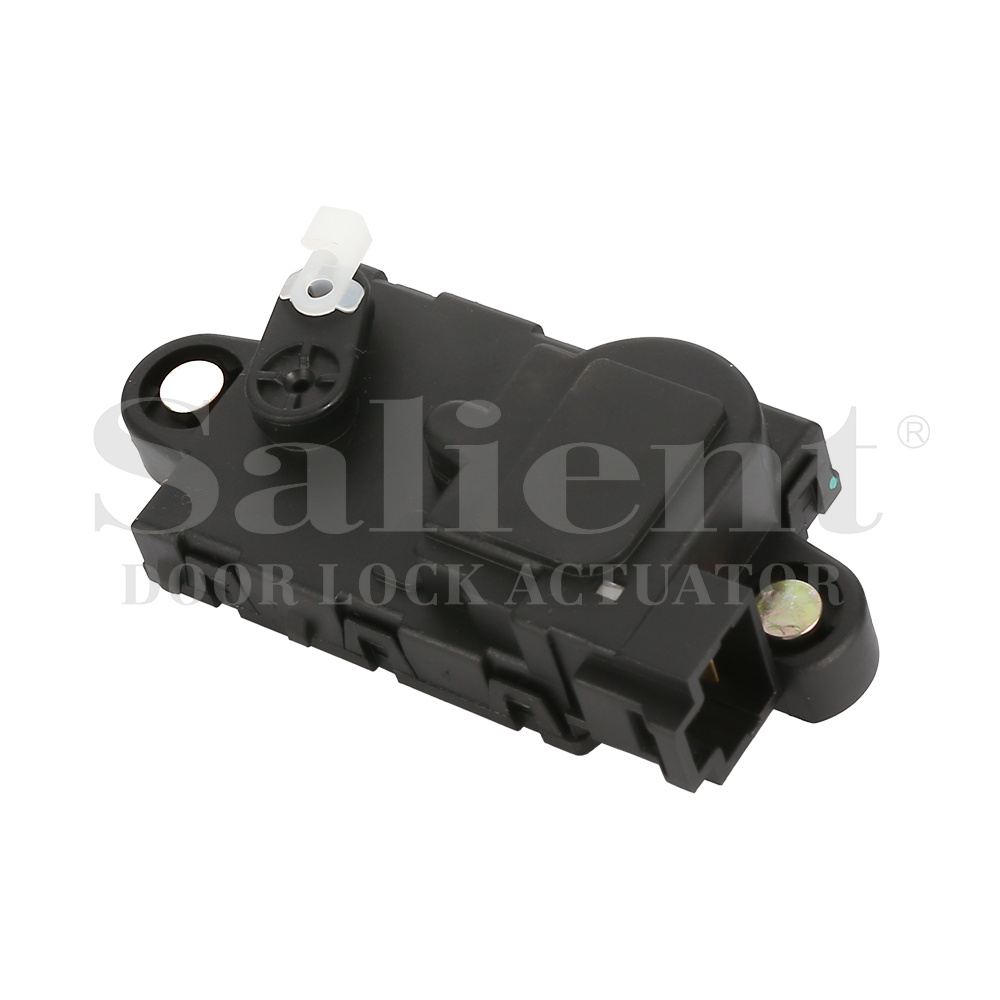
Replacing a door lock actuator can be a straightforward process if you follow the correct steps and have the right tools. Here is a step-by-step guide to help you through the process:
Tools and Materials Needed
Screwdrivers (Phillips and flathead)
Trim removal tool
Socket set
Torx bit set (if applicable)
Pliers
Replacement door lock actuator
Work gloves
Safety glasses
Steps to Replace a Door Lock Actuator
1. Prepare the Vehicle
Safety First: Ensure the vehicle is parked on a flat surface, the ignition is off, and the keys are removed.
Disconnect the Battery: To avoid any electrical issues, disconnect the negative terminal of the battery.

2. Remove the Door Panel
Access Screws and Clips: Locate and remove any screws or bolts holding the door panel in place. These are usually found behind the door handle, in the armrest, or near the edges of the panel.
Use a Trim Tool: Use a trim removal tool to gently pry the door panel away from the door frame. Be careful to avoid damaging the clips or the panel itself.
Disconnect Electrical Connections: Once the panel is loose, carefully disconnect any electrical connectors for window controls, door lights, or speakers.
3. Remove the Moisture Barrier
Peel Back Carefully: If there is a plastic or foam moisture barrier, peel it back carefully. Try not to tear it as you will need to reattach it later to prevent water damage.
4. Access the Door Lock Actuator
Locate the Actuator: The door lock actuator is usually located near the door latch mechanism.
Disconnect Linkages: Disconnect any rods or linkages attached to the actuator. These rods connect the actuator to the door latch and lock mechanisms.
Unplug Electrical Connector: Unplug the electrical connector from the actuator.
5. Remove the Old Actuator
Unscrew the Actuator: Remove any screws or bolts holding the actuator in place. These may require a socket set or Torx bits.
Extract the Actuator: Carefully remove the actuator from its position.
6. Install the New Actuator
Position the New Actuator: Place the new actuator in the same position as the old one.
Secure the Actuator: Fasten it with the screws or bolts you removed earlier.
Reconnect Linkages: Reattach any rods or linkages to the new actuator.
Plug in Electrical Connector: Connect the electrical connector to the new actuator.
7. Test the Actuator
Reconnect the Battery: Reconnect the negative terminal of the battery.
Test the Lock: Before reassembling the door, test the new actuator by locking and unlocking the door with the key fob and the internal lock switch. Ensure it works correctly.
8. Reassemble the Door
Reattach the Moisture Barrier: Reattach the moisture barrier, making sure it is properly sealed to prevent water from entering the door cavity.
Reconnect Electrical Connections: Reconnect any electrical connectors you disconnected when removing the door panel.
Reinstall the Door Panel: Align the door panel with the door frame and press it back into place, ensuring all clips are engaged.
Replace Screws and Bolts: Replace and tighten any screws or bolts you removed earlier.
9. Final Test
Verify Operation: Perform a final test of the door lock actuator to ensure everything is working smoothly.
Check Other Functions: Ensure other functions such as window controls, speakers, and door lights are working correctly.
Replacing a door lock actuator involves removing the door panel, accessing and replacing the actuator, and then reassembling the door. Taking care to disconnect the battery and follow the steps carefully can ensure a successful replacement without damaging your vehicle. If you're unsure or uncomfortable with any part of the process, consider seeking help from a professional mechanic.


 English
 Español
.jpg?imageView2/2/format/jp2)


.jpg?imageView2/2/format/jp2)
.jpg?imageView2/2/format/jp2)
-1.jpg?imageView2/2/format/jp2)
.jpg?imageView2/2/format/jp2)
.jpg?imageView2/2/format/jp2)

