Diagnosing a malfunctioning door lock actuator involves a series of steps to identify the root cause of the issue. Here’s a comprehensive guide to help you diagnose a faulty actuator:
1. Visual Inspection
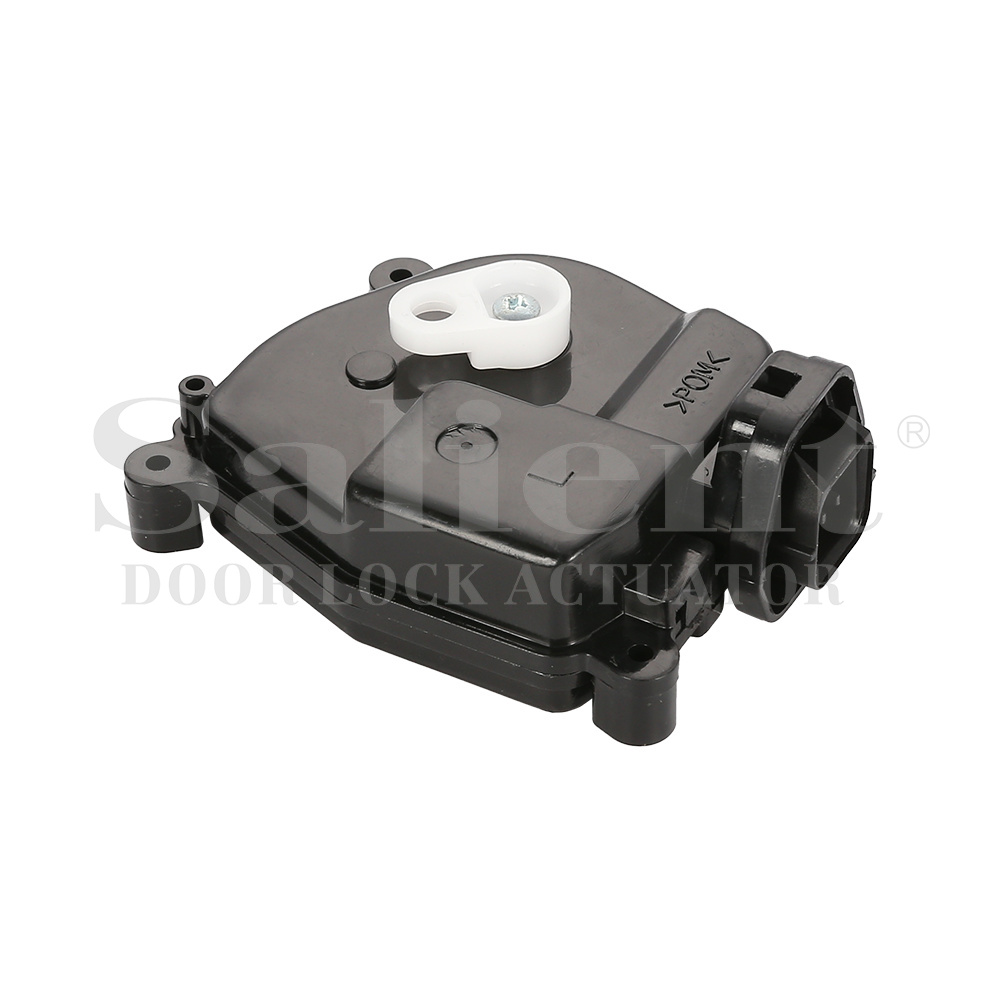
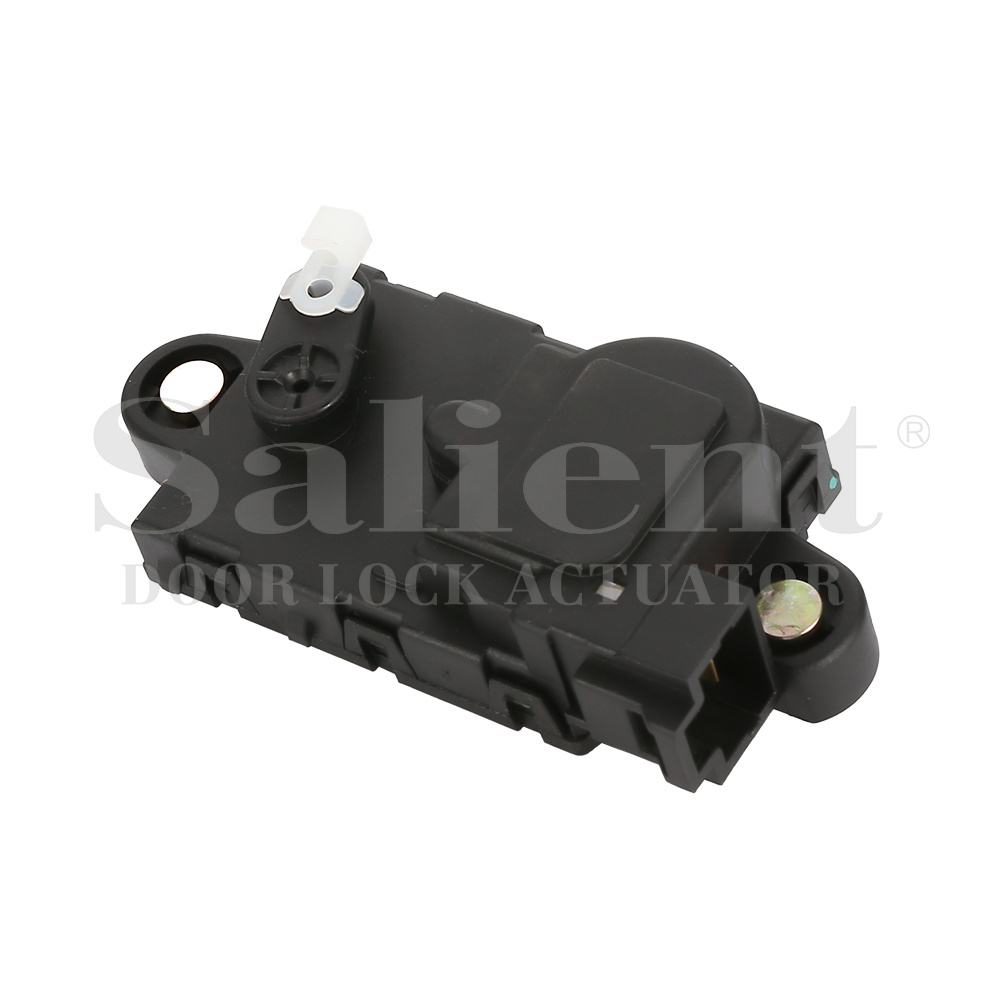
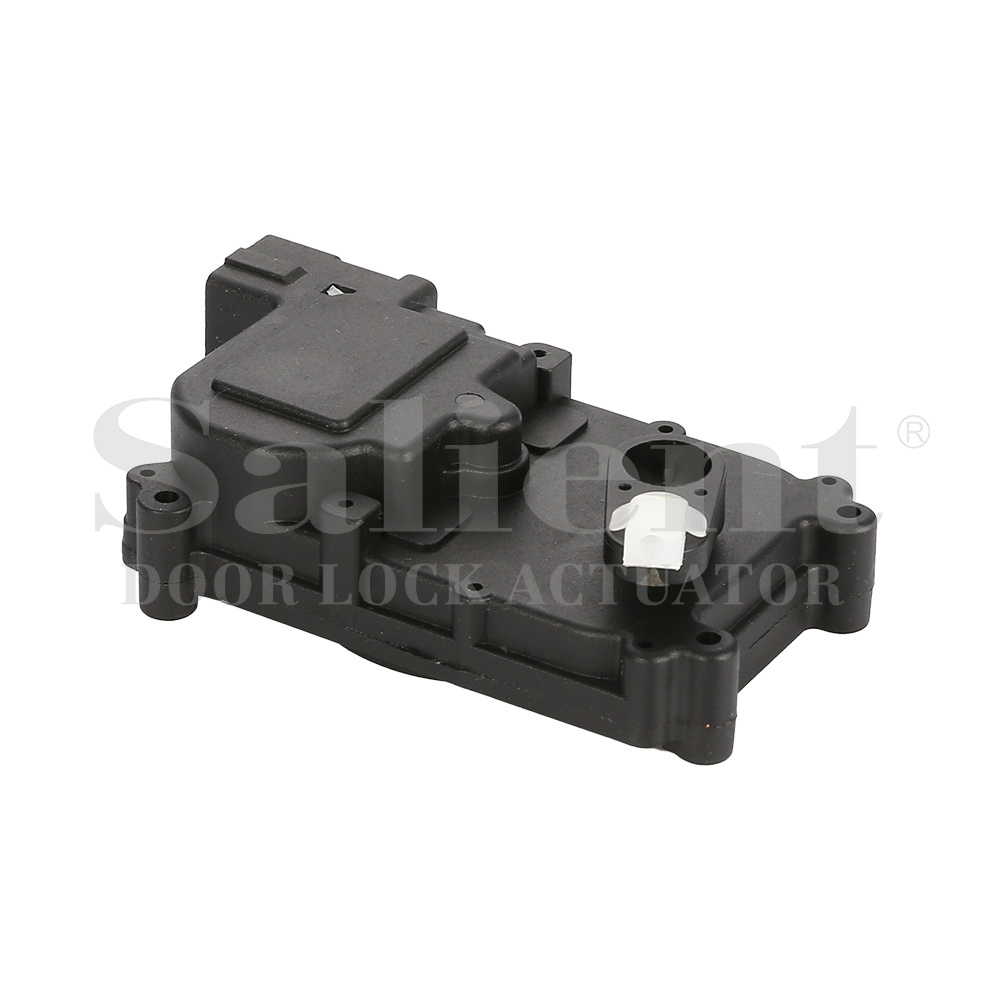
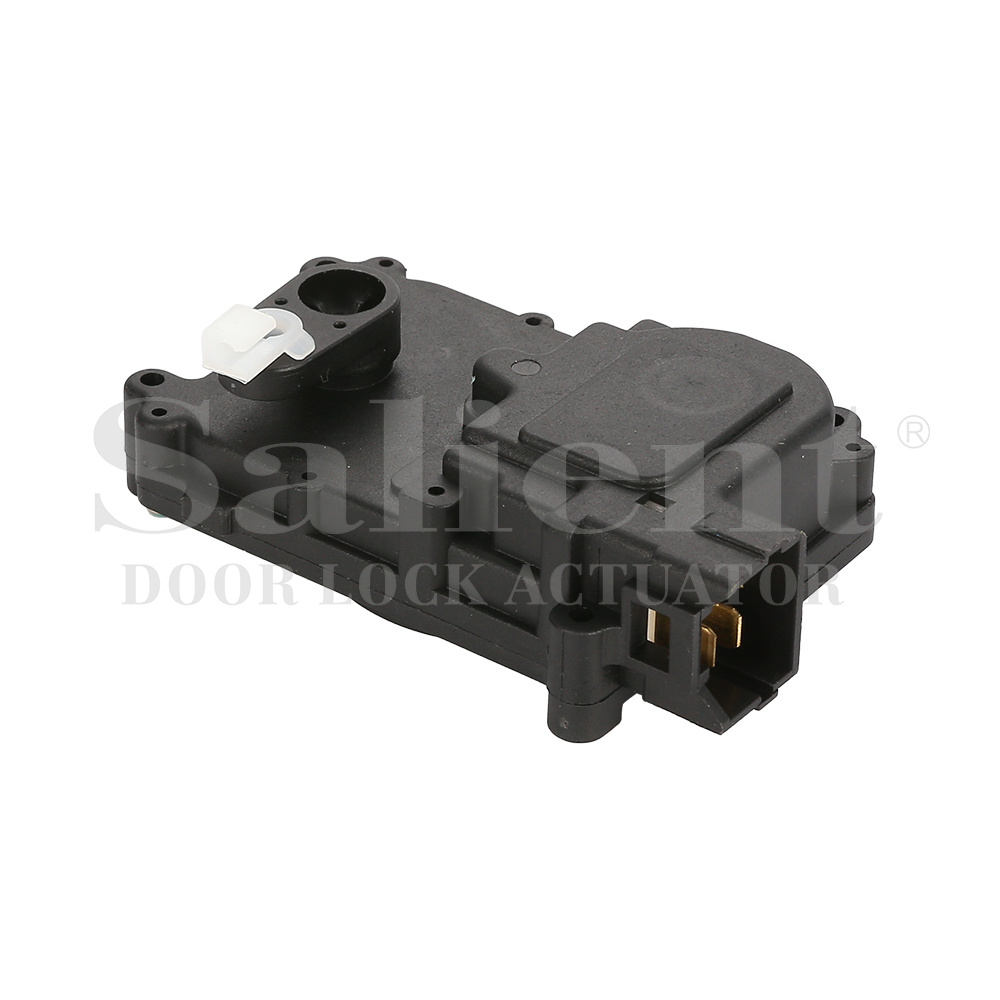
Check for Damage: Inspect the door lock actuator for any visible signs of physical damage, such as broken connectors, corrosion, or frayed wires.
Moisture and Dirt: Look for signs of moisture or dirt ingress, which can interfere with the actuator's operation.
2. Listen for Noises
Operate the Lock: Use the key fob or the door lock button to activate the lock. Listen for unusual noises like grinding, clicking, or buzzing, which may indicate internal mechanical issues.
3. Functionality Test
Compare Doors: Test the locking mechanism on all doors. If only one door is malfunctioning, it's likely an issue with that specific actuator.
Manual Operation: Try locking and unlocking the door manually with the key. Difficulty in manual operation can indicate a problem with the actuator.
4. Power Supply Check
Multimeter Test: Use a multimeter to check for voltage at the actuator’s electrical connector. If there's no power, the issue might be with the wiring or the control module.
Fuse Inspection: Check the fuse associated with the door lock actuator circuit. A blown fuse could cause the actuator to stop working.
5. Switch and Relay Inspection
Door Lock Switch: Test the door lock switch by activating the lock and unlock functions. If the switch is faulty, it might not send the correct signal to the actuator.
Relay Test: Listen for a clicking sound from the relay when the lock button is pressed. No sound might indicate a faulty relay.
6. Scan for Error Codes
OBD-II Scanner: Use an OBD-II scanner to check for any diagnostic trouble codes (DTCs) related to the door lock actuator. This can help pinpoint electrical issues.

Vehicle Manual: Refer to the vehicle's service manual for specific DTCs and diagnostic procedures.
7. Actuator Removal and Bench Test
Remove the Actuator: Carefully remove the door panel and take out the actuator. Follow the vehicle’s service manual for precise instructions.
Bench Test: Apply direct power and ground to the actuator using a 12V power source. Observe its operation. If it doesn’t function correctly on the bench, it’s likely faulty.
8. Inspect Wiring and Connections
Wiring Harness: Check the wiring harness for any signs of wear, damage, or corrosion.
Connector Pins: Ensure that all connector pins are clean and making good contact. Corroded or loose pins can cause intermittent issues.
9. Check Central Locking System
Control Module: Inspect the central locking control module for any signs of faults. A malfunctioning control module can affect the operation of the actuators.
System Reset: Sometimes resetting the central locking system can resolve intermittent issues. Consult the vehicle’s manual for reset procedures.
10. Professional Diagnostic Tools
Advanced Diagnostics: In some cases, advanced diagnostic tools may be required. A professional mechanic can use these tools to perform in-depth tests and pinpoint the exact issue.
Diagnosing a malfunctioning door lock actuator involves a combination of visual inspection, listening for unusual noises, testing for power supply, checking related components, and possibly using diagnostic tools. By following these steps, you can accurately identify whether the actuator is faulty and needs replacement or if another part of the locking system is at fault. If the issue persists, consulting a professional mechanic for a thorough diagnosis is recommended.


 English
 Español
-1.jpg)
-1.jpg)
.jpg)
.jpg)
.jpg)

